How to Repair Water-Damaged Walls
Water damage is an unwelcome guest in any home. It might sneak in slowly or burst onto the scene suddenly. Either way, it’s imperative to handle water-damaged walls promptly. If left unchecked, minor damage can spread, leading to structural concerns and higher repair costs. So, let’s discuss the water damage restoration process and how to bring your walls back to their original glory.
Spotting the Signs of Water-Damaged Drywall
Drywall water damage isn’t always obvious. Here are some telltale signs to watch out for:
- Discolored stains: Unusual yellowish-brown discoloration on the wall is a clear indication of water damage.
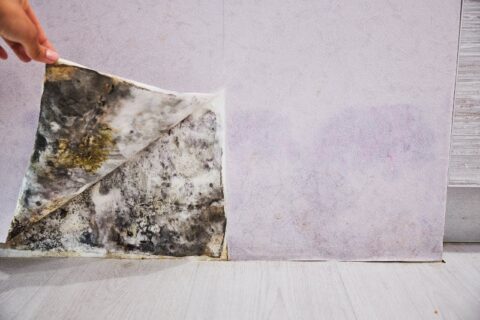
- Mold outbreaks: Mold growth is often a side effect of water damage, especially in damp areas like bathrooms and kitchens.
- Flooring damage: Sometimes, the proof isn’t on the wall but beneath your feet. Moisture that creeps up from the ground can manifest as cracks or holes in the flooring.
Step-by-Step Guide to Water Damage Repair
First things first—find out what caused the water damage and address it. Then, it’s time to clean up. Here’s how to fix a water-damaged wall:
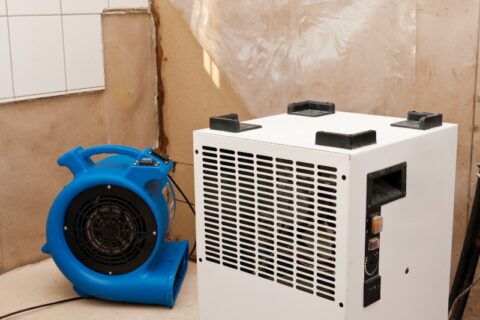
- Dry out the affected wall: Direct a fan at it and use a dehumidifier to speed up the process. Keep windows and doors open, weather permitting, for better air circulation. It may take about three days for your wall to dry out, depending on the extent of the damage and local humidity levels.
- Treat mold: If mold is present, clean the area with a mixture of water and bleach, scrub it away, and ensure the wall is dried thoroughly.
- Remove the damaged drywall: Outline the affected area and make neat cuts around it. Remove the damaged piece and use it as a template for the replacement drywall.
- Fit a drywall patch: Cut a new piece of drywall using the damaged piece or measurements from the space for guidance.
- Install the new piece: For gaps wider than 4 inches, use a wood scrap for support. Attach this behind the hole, then fit in your drywall patch. Use drywall tape and compound to seamlessly blend the patch into the wall.
- Finish with paint: Once the compound is dry, match the wall’s texture, if necessary, and apply paint.
- Prevent future water damage: Ensure gutters and downspouts are clean and directing water away from your home. Regularly inspect the roof, windows, and exterior walls for potential weak points and seal any gaps or cracks. Inside, be vigilant about leaks and address them immediately.
DIY or Call a Pro?
Addressing flood damage is rarely a DIY job. Hiring a restoration service is usually best, especially if health hazards like black mold are present. Handling large drywall sheets or striving for a flawless finish also calls for an expert’s touch.
Contact Pacific Flood Restoration
For reliable water damage restoration services in San Diego and surrounding areas, look no further than Pacific Flood Restoration. Our team is dependable, punctual, and transparent. We’re also equipped to handle large projects and deliver a high standard of customer care. Call us at 760-815-3033 today or contact us online to schedule flood damage restoration in San Diego and North County San Diego.
Do you know where to turn if your home or business is damaged by water, fire, or mold? Restoration service providers are trained to restore your…
Water intrusion is a persistent threat to your home or business. No one wants to give up indoor plumbing, but a slow drip from a leaky pipe or hose…